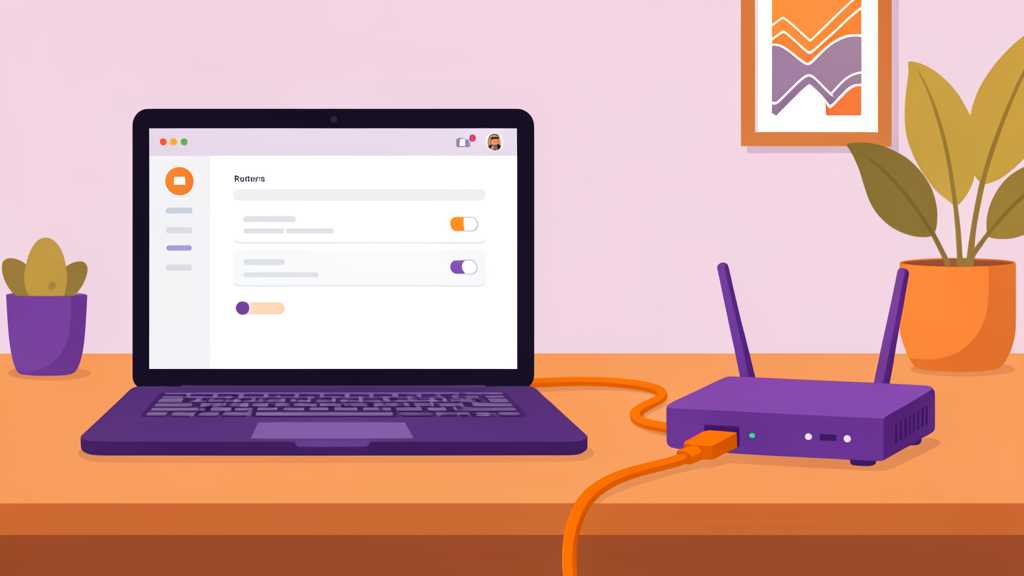
The 5 Router Settings You Should Change Right Now
Your router has a secret website built into it. Every router does. That website has hundreds of settings — most of which you will never need to touch and should probably leave alone.
But a handful of them matter. Some keep you safe. Some stop your smart devices from disconnecting. Some make your Wi-Fi faster. And most routers ship with them set to the worst possible values. Nobody knows why.
This guide covers the five that matter most. They take about ten minutes to change. Once they’re done, you’ll never think about them again.
Before you start: You need to get into your router’s settings. Open a web browser, type one of these into the address bar, and press Enter:
192.168.1.1 or 192.168.0.1 or 10.0.0.1
If you’re not sure which one is yours, check the sticker on your router. It’s usually printed there. Enter the username and password from that same sticker. If you’ve changed them and forgotten, look for a tiny reset button — a paperclip in the pinhole for 10 seconds resets it to factory settings.
Setting 1: Change the admin password
This is the password to get into your router’s settings — not the one your devices use to connect to Wi-Fi. Two different things.
Most routers ship with a default admin password like “admin” or “password.” There are websites that list every router’s default login. Anyone who knows your router’s brand can look it up in seconds and log into your network. We need to change it in order to stop them being able to cut you off from the Internet. Or worse.
What to do: Look for a section called “Administration,” “Management,” or “System.” There’ll be a field for the old password and a new one. Pick something you’ll remember but isn’t obvious.
The important bit: Write it down. Stick it to the bottom of your router with a piece of masking tape. I know that sounds insecure, but someone with physical access to your router can reset it anyway. The risk of you forgetting it and having to factory-reset everything is much greater than the risk of someone breaking into your house and stealing your Wi-Fi password.
Setting 2: Give your 2.4 GHz and 5 GHz networks different names
We covered this in the separate networks guide, but it’s worth repeating because it’s the single most common fix for smart home problems.
Your router broadcasts two Wi-Fi bands: 2.4 GHz (slow but goes through walls) and 5 GHz (fast but shorter range). By default, most routers give them the same name and let the router decide which one each device uses.
That works fine for phones and laptops. It’s a disaster for smart plugs, bulbs, and doorbells — they only support 2.4 GHz, and the router sometimes tries to move them to 5 GHz, which they can’t use. They disconnect and never come back.
What to do: In the Wi-Fi settings, you’ll see two sections — one for 2.4 GHz and one for 5 GHz. Each has an SSID field (that’s the network name). Change the 2.4 GHz name to something slightly different:
- Main network (5 GHz):
SmithHome(leave as is) - Smart devices (2.4 GHz):
SmithHome-2G
Save the settings. Your Wi-Fi will flicker for a moment. Reconnect your phone to the 5 GHz network. Connect your smart bulbs and plugs to the 2.4 GHz one. They’ll stay connected now.
Setting 3: Turn off WPS
WPS stands for Wi-Fi Protected Setup. It’s a feature that lets you connect devices by pressing a button on the router instead of typing a password. It sounds convenient.
It’s also a well-known security hole. Hackers can crack WPS PINs in hours, sometimes minutes. Once they’re in, they have your Wi-Fi password.
What to do: Look for “WPS” in your router’s settings. It’s usually in the Wi-Fi or wireless section. Turn it off. If a device refuses to connect without WPS, type the password manually instead. It takes an extra fifteen seconds and is infinitely more secure.
Setting 4: Enable automatic firmware updates
Firmware is the software that runs on your router. Like the operating system on your phone or laptop. Manufacturers release updates to fix security holes and improve performance.
If you don’t update your router’s firmware, known security holes stay open. And they are very much known — once a fix is released, attackers know exactly what was broken and go looking for unpatched routers.
What to do: Look for “Firmware Update,” “Router Update,” or “System Update.” Find the option that says “check automatically” or “auto-update.” Enable it.
If your router doesn’t support automatic updates, set a recurring calendar reminder for the first day of every month. Log in and check manually. If your router hasn’t received an update in over a year, consider replacing it. It is possibly insecure if it hasn’t received regular updates.
Setting 5: Set up a guest network
Your guest network is one of the best things you can do for your security, and it takes about two minutes.
Here’s the idea: your main network has all your devices — your laptop, your phone, your printer, your files. You don’t want visitors — or their devices, which might have who-knows-what on them — sharing that space.
A guest network creates a separate Wi-Fi that can reach the internet but can’t reach your devices. Visitors connect to the guest network, get online, and can’t touch anything else in your house.
What to do: Look for “Guest Network” or “Guest Access” in your router settings. Enable it. Give it a name like SmithHome-Guest and a simple password your visitors can type easily (like guest2026 or the house number). Save it.
Now whenever someone comes over and asks for the Wi-Fi, you point them to the guest network. Your main password stays private.
What to do now
- Log into your router (use the address from the callout at the top)
- Change the admin password. Write it on a sticker on the router or in your notebook (remember that?)
- Set separate names for your 2.4 GHz and 5 GHz networks
- Turn off WPS
- Enable automatic firmware updates
- Set up a guest network with its own password
- Move your smart devices to the guest network if you’re feeling thorough
Read this next: 3 Router Settings That Make Your Wi-Fi Faster — QoS, DNS, and the settings your ISP doesn’t want you to touch.
Want the full guide? We’re building a complete home networking book with detailed setup instructions, gear recommendations at every budget, and a complete security chapter that won’t put you to sleep. Sign up to hear when it’s ready.